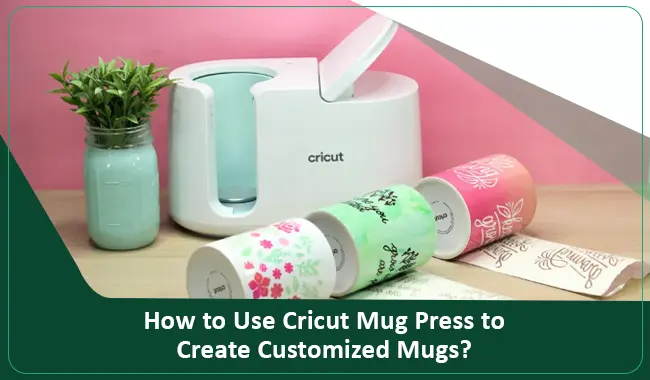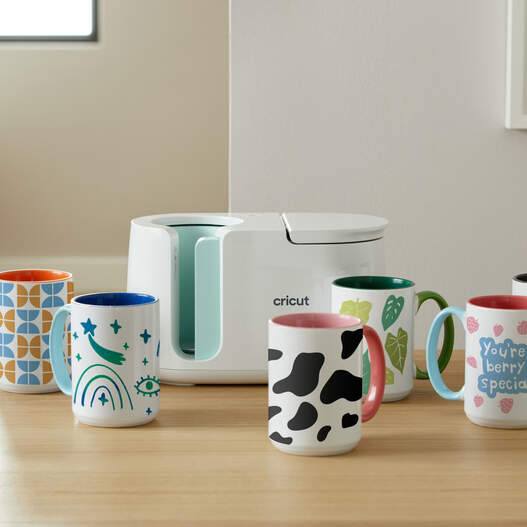
Cricut Mug Press is an excellent machine for creating custom mugs for your regular DIY projects or your part-time business. I really like this Cricut machine for its unique performance and elegant design. It is tiny and does everything gracefully. If you want to make some beautiful-looking mugs from it, read this blog till the end and learn what it can do. Basically, I will suggest some quick ways how to use Cricut Mug Press. So, let’s get ready with the machine and discover something new.
Have you guys used it before? If not, I wouldn’t mind giving a brief introduction to this Cricut machine that I have been using for a while now. Cricut has the best collection of machines, and the Cricut Mug Press is one of those attractive machines that beginners look for.
Cricut Mug Press: An Overview
Cricut Mug Press is a Cricut’s heat press designed specifically for creating customized mugs. People from all over the world are adopting this machine for making their desired mugs for either personal use or to sell them to the market. So, if you are the one who wants to create mugs too, be with me till the end of this to learn everything.
How to Setup a Cricut Mug Press on Your Device?
When you finally get your Cricut machine, you need to set it up on a device in order to prepare it for upcoming projects. To set up your heat-press, you can use a USB connection to your devices, such as a computer or laptop. I assume you’ll do it easily without my instructions.
So, let’s come to the final setup process, which is to register your device or activate it. By doing this, you’ll be able to use it to make your first project. Follow my steps. So, are you ready for the final part? Check the steps below for Cricut Mug Press activation.
- Initially, navigate to cricut.com/setup and get the Cricut Design Space.
- After that, you have to open the software.
- Now, a screen will ask you if you want to set up or activate your machine.
- Next, select your Cricut model from the options.
- Then, follow all the on-screen steps to continue.
- Finally, you will set up your Cricut machine successfully.
That’s it for the Cricut machine setup. Now, it’s time to learn how to use it to make a first project.
How to Use Cricut Mug Press for Beginners?
When you know how to set up the Mug Press, it’s time to cover its use and see how you can prepare your first mug with this machine.
Step 1: Prepare Your Cricut Mug Press
To get started with the Mug Press, you need to first warm it up. You don’t have to do anything complicated. All you need is to put the Mug Press on a heat resistant surface and leave it turned on. When the machine is ON, you’ll see the orange light lit.
Step 2: Prepare Your Mug Design
In the second step, you’ll do your favorite thing, which is to make a design. You have the Cricut Design Space for it. However, it’s not compulsory to use it always, but it would be the ideal software for those who aren’t too much into designing.

So, create a design or use the premade design from the Cricut Design Space. Don’t forget to mirror your design to place it correctly on your final mug.
Step 3: Cutting Your Design
Now, you need to cut your sublimation design using your Cricut cutting machine. I like my Cricut Maker 3. What’s your favorite machine? As you are already a crafter, I know you are a pro at cutting materials. So, I won’t waste your time on all the small things in learning how to use Cricut Mug Press.
Step 4: Cleaning Your Blank Mug
Once you are ready with the design, you should clean your sublimation mug with rubbing alcohol and cotton to remove lint. Don’t touch the area you are putting the design on. Let it dry for a few seconds, and get ready to place your design.
Step 5: Transfer Your Design to Mug
After that, apply the sublimation paper to your mug. Ensure that the design is facing up on the mug. Next, the heat-resistant tape is used to fix the design tightly to avoid mishaps.
Also, make sure that there are no gaps in the design, as it will not provide you with a clean finish.
Step 6: Place the Mug Into Your Cricut Mug Press

In this step, you are finally learning how to use Cricut Mug Press. So, put your mug into the Mug Press. Keep the handle of the mug outside of the heat press. Then, close the lid and allow the process to begin.
When the Mug Press is working, you will see the light blinking on the machine. The heating process will take not more than 5-6 minutes to complete.
Step 7: Take the Mug Out
Once the process is complete, your Cricut Mug Press will beep a sound to indicate that the heating is over. Afterward, slowly release your fully heated mug out of the heat press. Also, place it on a heat resistant surface.
Let your mug cool down, as you may spoil your design by removing the sublimation paper early. When the mug is cooled, take off the sublimation paper.
Step 8: Reveal Your Project
Can you see the vibrant design on my mug? You can create it, too, with your brilliant Cricut machine. And enjoy your mug!
Conclusion
You finally read my blog to learn how to use Cricut Mug Press. It’s really great, and I appreciate it. Creating a mug with the Cricut machine is fun. I enjoy it, and I want all my readers to enjoy making their customized mug. Ensure that you create a lovely design in your Cricut Design Space to create a vibrant-looking mug. You can do it as a hobby or to earn a profit.
Frequently Asked Questions
To use a Cricut Mug
press, you should use infusible ink, which is specially designed for creating
the sublimation projects. You can also use Cricut’s accessories such as
infusible ink pens and markers. Usually, infusible ink is used for transferring
designs permanently on a surface such as your coffee mug.
To use a Cricut Mug
Press, you should use a computer or laptop. You need to activate your machine
before using it. Moreover, you need to update firmware. Beginners should note
that you can’t set up your Mug Press with a mobile device like Android or iOS.
No, you can’t use any
mug with your Mug Press. You should use the Cricut mug, which is specially made
for the sublimation process. Alternatively, you can use a mug that has a
special ceramic coating to withstand the excessive heat. For convenience, you should
use Cricut mugs, which are easily available on Cricut’s website.

David Madock
5+ Year of experience


